"We just went a few metres off-trail to look at the waterfall" is how half of family search-and-rescue callouts start. Phones are wonderful, until the battery dies, the screen cracks, or the signal disappears on the other side of the ridge. This guide gives you the navigation habits that actually work with young children: set your phone up offline before you leave the car, learn how trail marks look in different countries, keep a paper map and compass as a backup, memorise the STOP rule, and — the best part — put the kids in charge. Navigation stops being a parent stress and becomes the hike's game.
Set up your phone for offline navigation
Phone navigation fails on the trail in three predictable ways: no signal, dead battery, and no offline map downloaded. Fix all three at home before you leave. Most mainstream mapping apps let you download a region for offline use — do that for the wider area of your trail, not just the square kilometre of the path. Then:
- Download the offline map at home on Wi-Fi. This is the single step most people skip, and it is the one that matters.
- Put the phone in airplane mode once you are on the trail. Navigation by GPS still works; the radio to the cell tower is what drains the battery chasing a signal you do not have.
- Bring a portable battery pack (5,000 mAh is enough for a day). A phone at 10% is not a navigation tool.
- Mark the trailhead and your car position the moment you park. It is surprisingly easy to forget which of ten identical trailhead signs you started from.
A phone is your primary tool, but never your only one. The rest of this guide is the backup layer that costs almost nothing.
Trail marks by country: a quick table
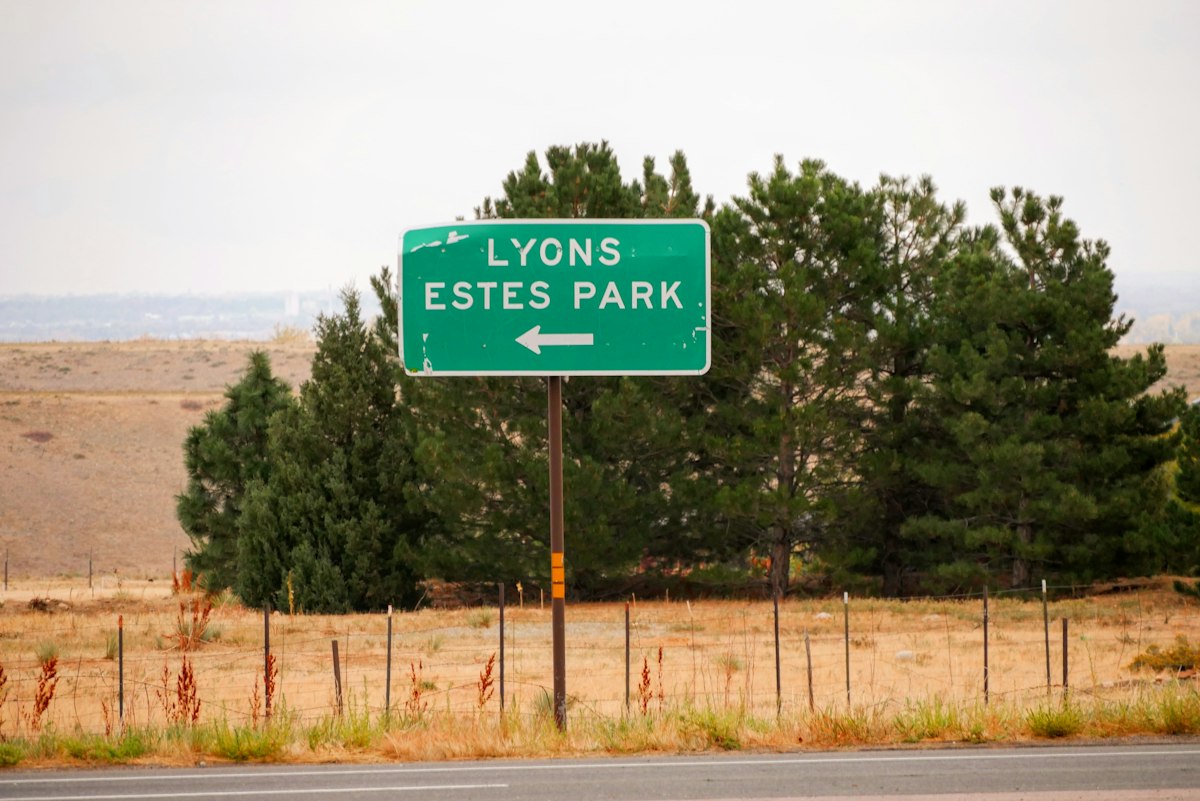
Most trails are not marked with a big sign every ten metres. They are marked with "blazes": paint, metal plaques, cairns (rock piles), or carved signs on trees. The language of these marks changes by country, and reading them is half the skill. The basics:
| Region | Typical mark | What it usually means |
|---|---|---|
| United States | Painted rectangular blazes on trees, usually 5–6 cm wide, about 1.5 m up. | One blaze = continue. Two blazes, one above the other with the top one offset = the trail turns in the direction of the offset. A single blue square often marks a water source; a white rectangle the Appalachian Trail. |
| United Kingdom | Coloured spots on wooden waymarks, or acorn symbols. | Public rights of way are often marked with arrows on wooden posts; long-distance paths use a disc marked with the acorn symbol. |
| Continental Europe | Paint splashes in three colours on trees and rocks. | Red–white–red or red–blue stripes on wooden or metal signs mark long-distance routes; local trails often use a single colour (yellow = easy loop, red = mountain route, as a rough pattern in Alpine countries). |
| Australia / New Zealand | Orange triangles or yellow diamonds on posts. | Orange triangles are the standard alpine/track marker in NZ; in Australia, yellow diamonds and boot prints mark many bushwalks. |
| China | Red ribbons, painted ticks, or stencilled symbols on rocks. | Developed parks use painted numbers and red diamond blazes; unofficial or "wild" routes rely on red tape tied to branches — if the ribbons stop, the route may be ending. |
When in doubt, treat a missing mark as a warning, not as permission to guess. Stop, look around 360 degrees, and walk back to the last clear mark. The rule of thumb (经验法则 in Chinese hiking circles, and worth adopting): if you have not seen a blaze for 10–15 minutes on a well-marked trail, you are probably off it.
Plan where you expect the next mark before you set off: "That blaze was on the left, so the next one should be a hundred metres ahead on the right." This one habit catches 90% of wrong turns early.
Compass and paper map, the 10-minute version
You do not need to be an orienteering champion. For family hiking, three compass skills cover nearly everything:
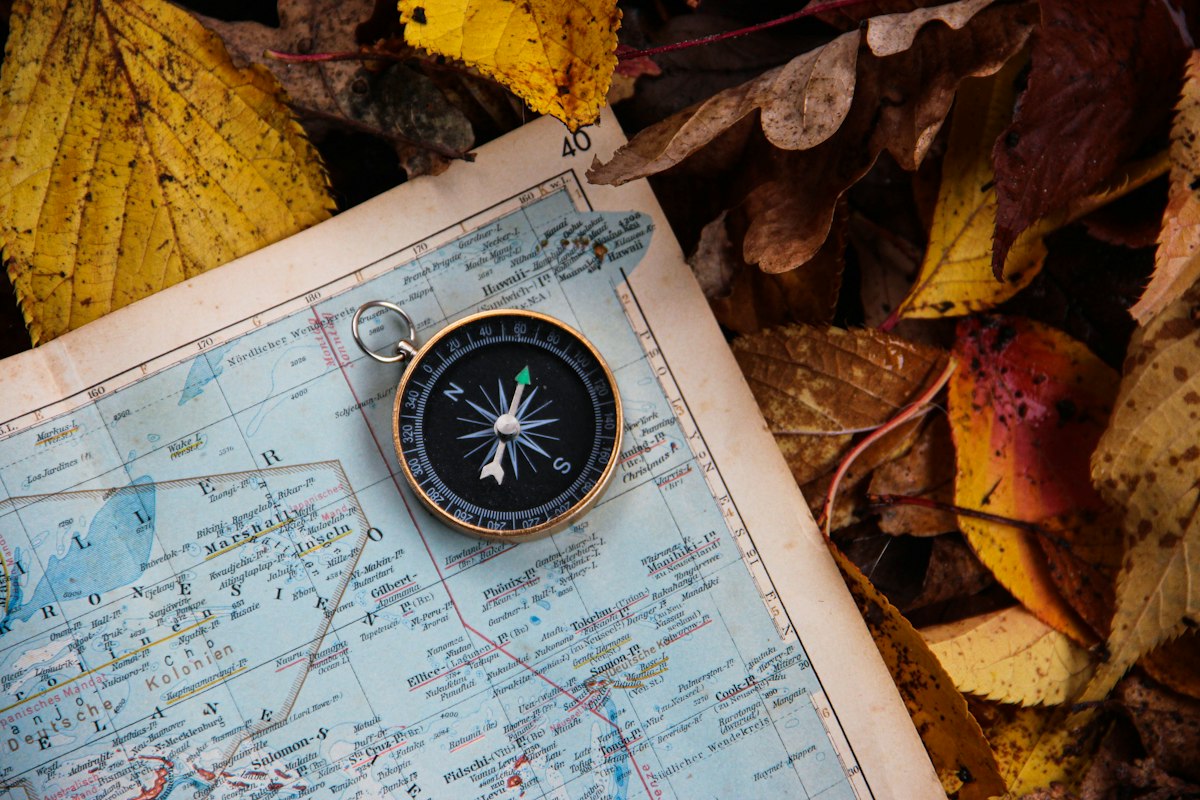
- Hold the compass flat. The needle floats; tilting it sticks. "North" on the needle points to magnetic north, not the top of your phone screen.
- Align the map to the world. Turn the map until its north points the same way the compass needle points. Now the map matches the terrain: the road you see on the left of the map is the road on your left. This is called "orienting the map", and it is the single most useful trick in beginner navigation.
- Take a bearing to a landmark. Line the compass up with where you want to go (the hill, the tower), and walk that direction, checking on the map as you move. With kids, this becomes the "treasure walk" game.
Buy a printed map of the park (or print the official PDF) before you go. Fold it into quarters and keep it in a plastic bag. A printed map does not run out of battery, and you can spread it on the ground and let the kids trace the route with their finger. Pair navigation planning with our Rest Stop Planner, so your route has shade, seats and toilets at the right intervals — navigation is a lot easier when no one is melting down.
The STOP rule: what to do if you lose the trail
Every experienced hiker has been briefly lost. The difference between a five-minute detour and a search-and-rescue call is what you do in the first two minutes. Memorise STOP with the kids like a rhyme:
- S — Stop. Stop walking. The more you wander, the further from the trail you get. Sit down, drink some water.
- T — Think. Where was the last place you saw a clear blaze? Which way did we come? Is there a hill, a stream, a road you can recognise?
- O — Observe. Pull out the map and phone. Match what you see (a stream, a ridge, a power line) to the map. Turn the phone on briefly, check position, then back off to save battery.
- P — Plan. The safest plan is almost always: retrace your steps to the last known mark, slowly, marking your path by bending a branch or stacking three small stones. If you cannot find it, stay put, make yourself visible and heard — three whistle blasts, wave a bright jacket — and wait. Moving at dusk is how brief lost becomes serious lost.
Agree the whistle rule with every child before the hike: three short blasts means "I need help", and you answer with three blasts back. This is part of the same Family Emergency Plan you run on every outing.
Make a child the lead navigator
This is the trick that turns navigation into the best part of the walk. Give one child the "job of the day":
- They hold the printed map (laminated, or in a plastic sleeve) and the compass.
- At every junction, they decide which way to go based on the map — you only correct if they are wrong.
- They spot the next blaze and call it out: "Mark on the left!"
- They choose the next rest stop, using the schedule you built in the Kids Hike Pace Planner.
Sharing the job teaches them the real skill, keeps them focused on the trail instead of on being bored, and means there are two pairs of eyes reading the route, not just one. Take turns on longer walks. A child who has been the navigator once will never again ask "are we there yet" — they already know.
Navigation is not about never making a mistake. It is about noticing the mistake within ten minutes, and having a calm, simple rule for getting back on track.
Download the map at home, pack the printed backup, practise the STOP rhyme in the car, and hand the compass to a small person. The trail will do the rest.